Foundation of User Interface and User Experience Series 02: The 6 Stages of UI Design🎨✨
Welcome back to our journey into the world of User Interface (UI) and User Experience (UX) design! In today’s post, we’ll explore the six crucial stages of UI design. Each stage plays a vital role in turning your ideas into a fully functional and visually appealing interface. Let’s dive in!
1. Sketching: Bringing Ideas to Life✏️
The first stage of UI design is sketching, where you get your ideas out of your mind and onto paper. This is a brainstorming phase, so there’s no right or wrong way to do it. Sketching is all about exploring possibilities and visualizing concepts. Key elements to include are:
Outline Boxes: Represent where images, text, and graphics will go.
Placeholder Boxes: Indicate the position of different components.
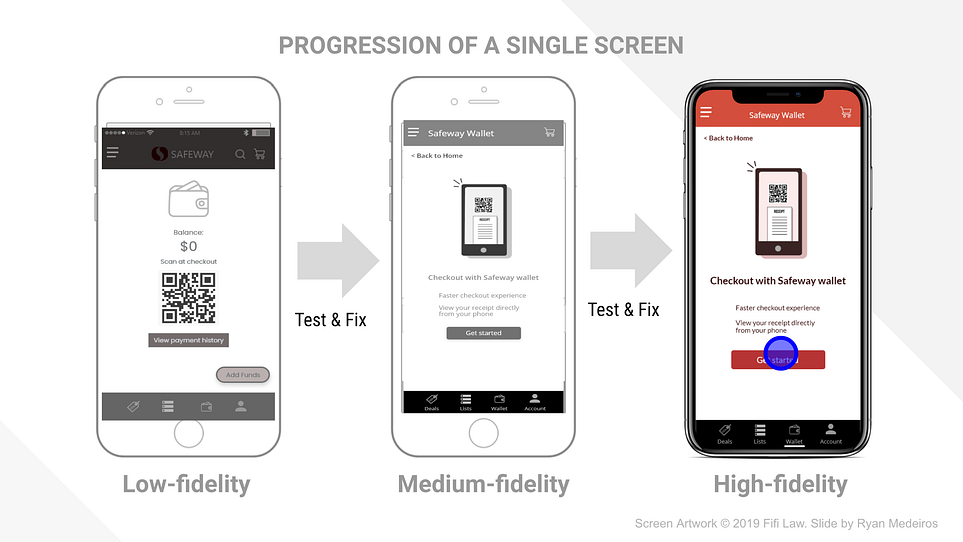
Low and High Fidelity: You can start with rough sketches (low fidelity) and refine them as you progress (high fidelity).
Key Tools:
- Paper and Whiteboard (for initial sketches)📄
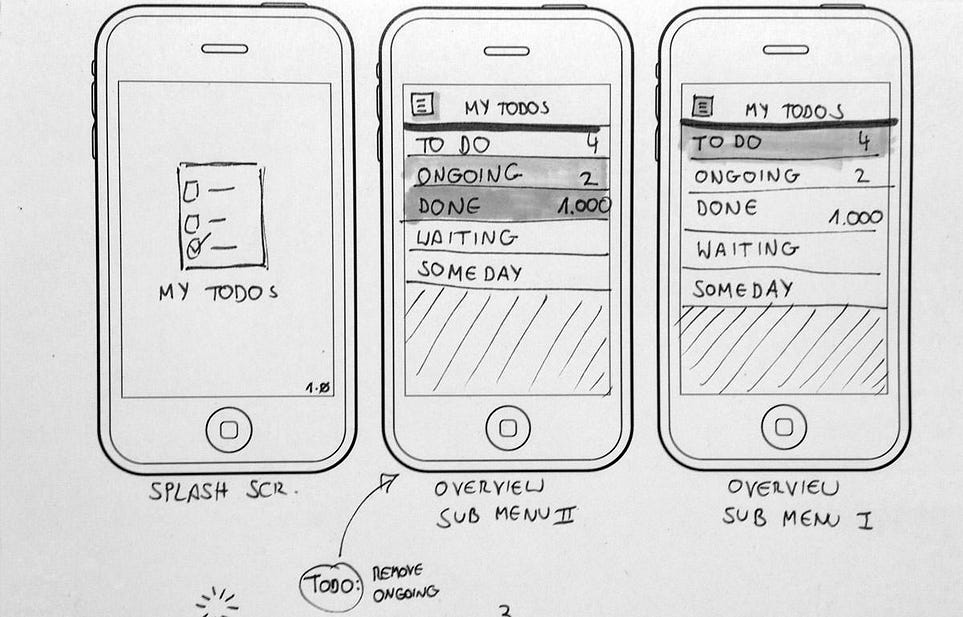
This stage is typically done with paper and a whiteboard, allowing you to quickly iterate on ideas and explore different possibilities without committing to anything just yet.
2. Wireframing: Structuring the Design
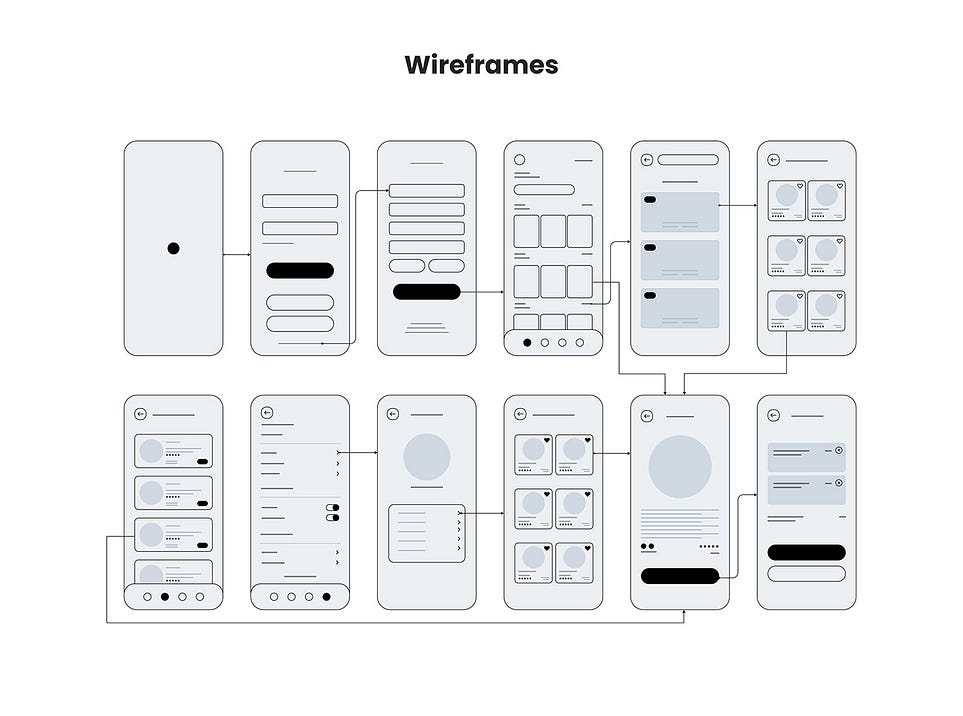
Wireframing is the stage where your sketches start to take shape. Here, you begin to layout content, text, and placeholders more systematically. Wireframes are essentially blueprints for your design, showing the structure and flow without getting into the details of visual design. It’s recommended to include actual text rather than just filler, to give a more realistic view.
Key Tools:
Figma
Balsamiq
Existing Wireframing Kits
Wireframing tools such as Figma, Balsamiq, and various wireframing kits can help you create mid-fidelity screen designs. This step is crucial for getting feedback from clients or stakeholders before moving on to more detailed work.
3. Component Design: Building Dynamic Interfaces
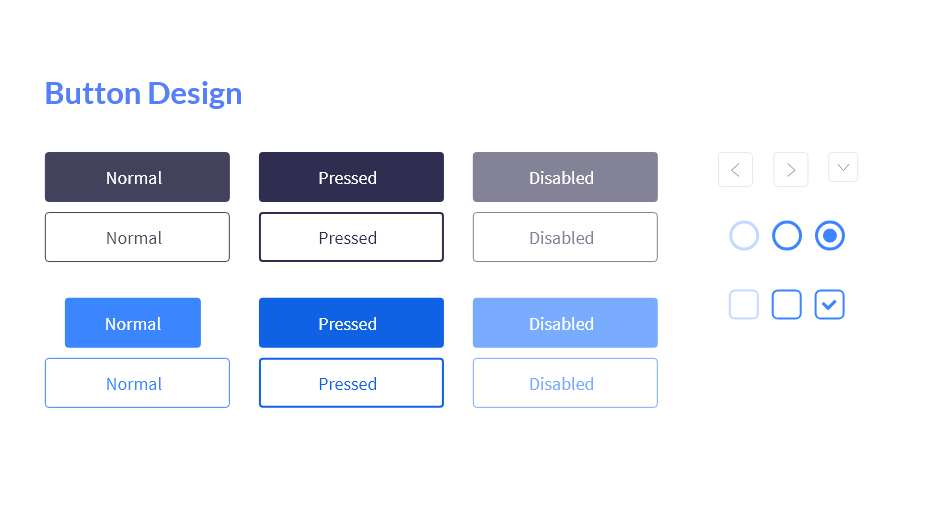
Unlike static landing pages, dynamic interfaces require careful consideration of various components and their states. Component design focuses on elements like buttons, badges, lists, and tables, ensuring they function consistently and are accessible to all users. You’ll need to think about the different states of each component (e.g., normal, hovered, clicked) and how they contribute to the overall usability of your interface.
Key Tools:
Sketch
Figma
Adobe XD
The goal here is to translate your ideas into a consistent design system that can be reused across your project. Tools like Sketch, Figma, and Adobe XD are great for creating and managing component designs.
4. User Flow and Task Flow: Mapping the Journey
User flow and task flow design are about understanding how users will navigate through your interface. This stage involves creating flowcharts and models that visualize the user’s journey, from entry points to their final destination. It’s important to consider the mental models of your users and ensure your design aligns with their expectations.
Key Tools:
FlowMapp
Wireflow
Tools like FlowMapp and Wireflow can help you create these visual maps, which are essential for identifying any potential issues in navigation and ensuring a smooth user experience.
5. Mockup or High Fidelity Design: Refining the Appearance
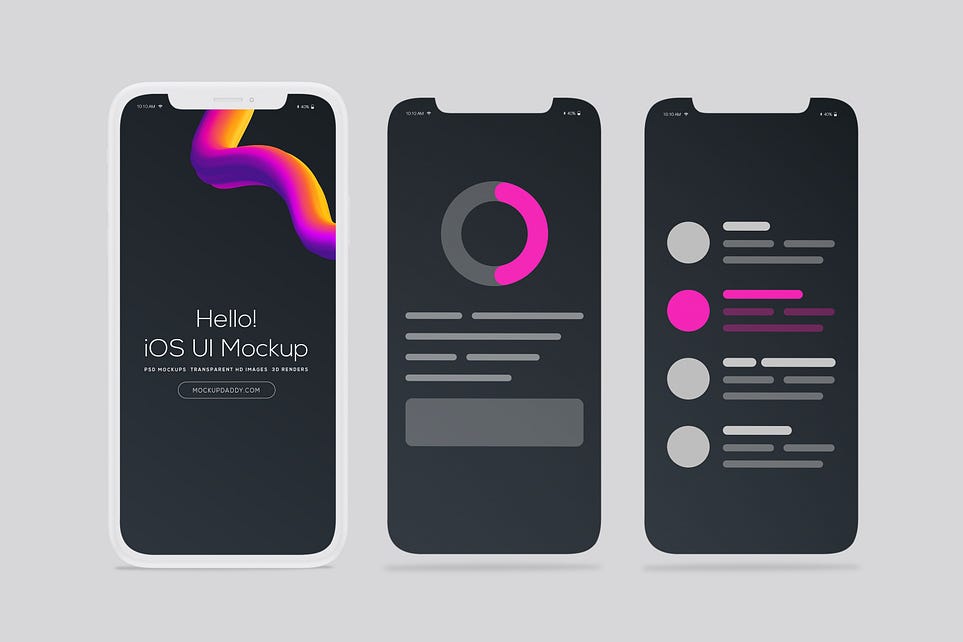
Mockups represent the final appearance of your design, showing how it will look in its finished form. At this stage, you’ll add real content, images, and fine-tune the visual design to create a pixel-perfect representation of the interface. The goal is to create a visually consistent design that aligns with your brand and provides stakeholders with a clear picture of the final product.
Key Tools:
Sketch
Figma
Adobe XD
Dropbox (for file sharing)
Tools like Sketch, Figma, and Adobe XD are commonly used for creating high-fidelity mockups. Dropbox or cloud-sharing platforms are also useful for sharing files and gathering feedback from stakeholders.
6. Prototyping: Bringing the Design to Life
The final stage of UI design is prototyping, where you create an interactive version of your design. Prototypes show how the final product will function, allowing you to test interactions and user flows before development begins. This stage is crucial for identifying any issues and making adjustments based on user feedback.
Key Tools:
InVision
Sketch
Figma
Adobe XD
Prototyping tools like InVision, Sketch, Figma, and Adobe XD allow you to create realistic, interactive prototypes that demonstrate how users will interact with your design.
By following these six stages, you’ll guide your UI design from a simple sketch to a fully functional, visually stunning interface. Each step builds on the last, ensuring your design is both thoughtful and user-centric. Stay tuned for our next post in this series as we continue exploring the exciting world of UI/UX design! 🌟
Don’t forget to check out our previous post for more foundational insights on UI/UX design — every step counts on this creative journey! 🎨🚀
